Data Quality Components for SSIS/ADF Other#
SSIS Best Practices#
Expired License and Community Edition Mode#
When a license string is expired, SSIS will enable Community Edition mode unless a valid license is entered
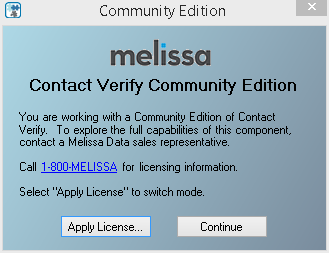
The Community Edition of SSIS has limited functionality. Providing a few basic abilites for you to sample our products. Some options may be greyed out.
Note
If you continue to run the project with a community license, the component will attempt to remove mappings not supported by the license in order to run. Please make sure to backup your configuration in order to avoid data mapping loss.
For more information on the Community Edition features, see the SSIS Subscribe documentation.
Adding a Valid License#
To add a valid license, follow the steps below.
Click the Apply License button. SSIS will now prompt the Advanced Configuration screen
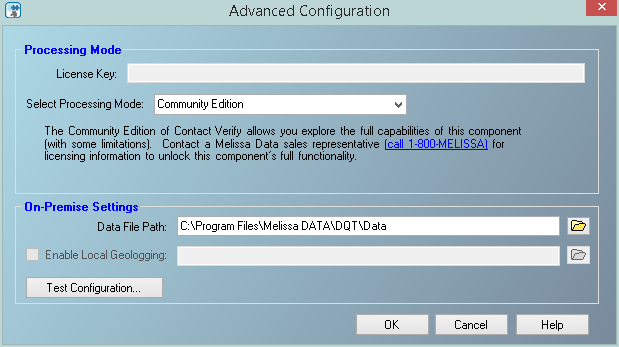
Select the Processing Mode from the drop down menu - On-Premise, Melissa Cloud or Dedicated Cloud.

Once the Processing Mode has been selected, insert the valid license into the License Key box.
Click Test Configuration.
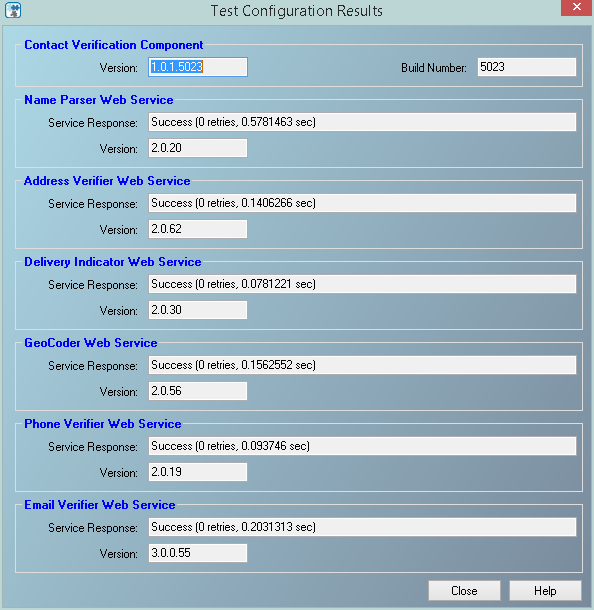
Click Close, then OK. The valid license string is now loaded into SSIS
Saving Configuration File#
Field Mappings#
We recommend backing up your configuration files for each project made in SSIS. The configuration file holds all the field mapping information made in the project.
The following steps will show how to save the configuration file.
Open the project that has all the field mappings set
Double click the component to access the interface
Click File, then choose Save as .cfg file.
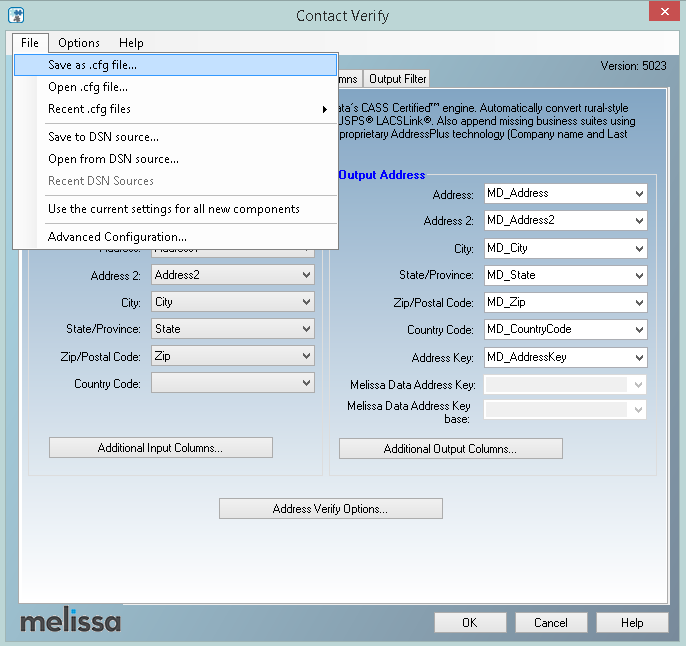
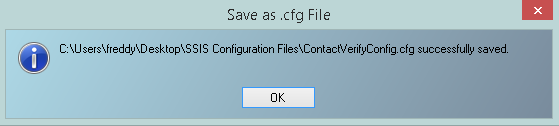
Choose a name and directory to save the configuration file.
Loading Configuration File#
The following instructions will display how to load a saved configuration file.
Open project and double click the component to access the interface
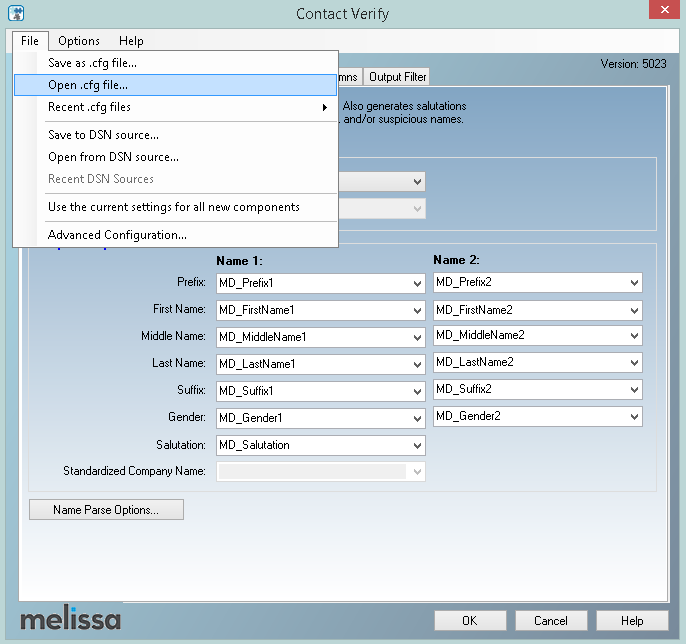
Click File, then choose Open .cfg file.
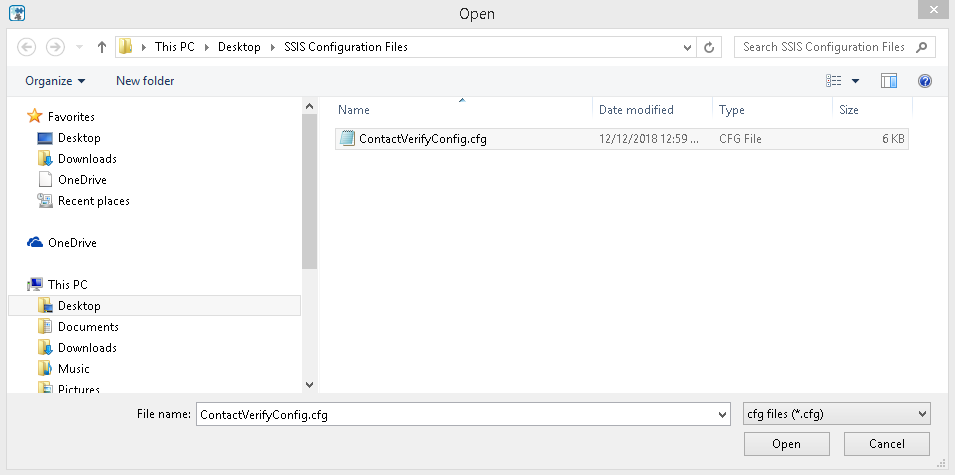
Locate the previously saved configuration file and click Open.
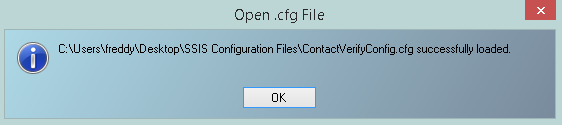
A message will appear stating the configuration was successfully loaded.
SSIS will load the field mappings contained within the configuration file into your project.
Running SSIS packages from the Command Line#
BP_XXSS_001
For more efficient memory usage, run your saved SSIS package from the command line instead of running directly from visual studio.
Example:
dtexec.exe /F "c:\fullpath\Package.dtsx" /Rep EWPD > "OptionalCreateLog.log"
Tests have shown memory usage to be up to 66% less. Running from visual studio will start devenv and DtsDebugHost processes in your Task Manager, whereas command line processing will start DTEXEC.
Update to the latest version.#
BP_XXSS_002
We always recommend users use the most current build (version), which may contain new or improved features, code fixes, or updated functionality. Melissa provides many ways to ensure you keep your components to the latest version.
Download Manager#
With larger downloads, we recommend using a download manager because it will display the progress and resume if the Internet connection is interrupted. To learn more about download managers with download links to some of the more popular ones, click here. With a download manager, you will need to enter the provided URL. This can usually be done by a copy and paste.
DVD or CD-ROM#
Your subscription also includes updates on DVD or CD-ROM.
Update Schedule#
If you have a monthly subscription, you will automatically receive a software shipment every month.
If you have a bimonthly subscription, you will receive the software shipment every other month according to the release schedule of your subscription. You should expect to receive your scheduled update within 5 business days of its release.
If you need any assistance or have any questions, please call tech support at 1-800-635-4772, opt #4 or send an email to tech@melissa.com They will be happy to help you.
FTP Best Practice#
Often, clicking the FTP link in the email notification will return ‘page can not be displayed’ in your default browser. Try ‘Cut and Pasting’ the link directly in your browser and/or try another browser.
MatchUp: Optimize Your Matchcode#
BP_MUXX_002
Applying certain optimizations, or configuring the matchcode settings, can greatly reduce processing time without sacrificing accuracy.
For a complete discussion see the Matchcodes > Optimization section of the MatchUp SSIS WebHelp or Optimizing MatchUp Matchcodes
MatchUp: Keep Work File Location Local#
BP_MUXX_004
Although the component’s interface lets you change the location of the MatchUp work files, you should only override this setting after thorough testing for operating systems and speed.
General Information can be found here:
MatchUp: Back up your Matchcode database#
BP_MUXX_005
General Information can be found here.
Leverage SSIS#
BP_XXSS_003
One of the nice things about SSIS is that you can use a canned component (like Conditional split) to separate source records by zipcode into different streams and run the jobs separately. If you have the hardware, this may allow you to take advantage of multi-threading of the processor and multi-instance of the components.
Limit Pass Through Fields#
BP_XXSS_004
The greater the number of Pass-through fields required will slow down the process. You should pass a unique record identifier as a passthru, then using the source record identifier, join the results with the source fields not used outside the component.
Run on a local instance#
BP_XXSS_005
VERY IMPORTANT - We are not convinced that VM memory management can be replicated as well as a physical machine - at least not without advanced configuration on your part and high performance hardware hosting the VM - which is beyond the scope of our supporting the performance of the component. Below are some links to related concerns with VM performance…
http://stackoverflow.com/questions/149318/virtualized-sql-server-why-not
https://virtualization.info/2008/12/01/running-sql-server-in-virtual-machine/
http://www.hanselman.com/blog/VirtualMachineCPUPerformance.aspx
These are not meant as a deterrent, only to point out the potential issue.
Minimum Hardware Requirements#
BP_XXSS_006
Although our components are tested and function on older hardware configurations, we “officially” support a recommended hardware configuration and will “unofficially” support configurations in which the components will run. Hardware configurations below the minimum requirements are not supported, in which we will advise hardware upgrades.
Melissa’s SSIS 2014 Platform Deprecation FAQ#
Microsoft SQL Server 2014 End of Support – Melissa SSIS 2014 Platform Deprecation – August 10th, 2026#
Effective August 10th, 2026, Melissa will officially cease support for the SSIS 2014 platform, encompassing Microsoft Visual Studio 2013 and SQL Server 2014.
For more information, please visit Melissa’s SSIS Documentation page: System Requirements.
What should I do with my existing SSIS 2014 packages?#
Existing SSIS 2014 packages can be migrated into a newer supported SSIS environment, such as SSIS 2016 or later.
How do I upgrade my existing packages for SSIS 2014+?#
To upgrade your existing SSIS 2014 packages to SSIS 2016+, follow these steps:
Install Melissa’s SSIS components into your new SSIS environment.
Open the package using Microsoft Visual Studio 2015 or newer.
Edit the Public Key Token value for each of Melissa’s SSIS components contained within the package.
For instructions on how to obtain the new Public Key Token value for Melissa’s SSIS components and how to edit the Public Key Token value, visit our SSIS docs FAQ page: SSIS How to Update Public Key Token.
Once the new Public Key Token has been added to your package, save the package. Your package has now been updated.
Per Microsoft’s standards, each of Melissa’s SSIS components must contain a unique Public Key Token value for each SSIS platform.
What happens if my organization is not ready in time for the deprecation?#
You will still be able to use Melissa’s SSIS 2014 platform. However, after the August 10th, 2026 deprecation date, Melissa’s SSIS 2014 platform components will remain static and will not receive any further updates, including new fields, options, or enhancements. Additionally, technical support for the SSIS 2014 platform will be limited.
To maintain security in your environment and stay up-to-date with Melissa’s latest SSIS component features, we strongly recommend migrating to a SQL Server 2016 or newer SSIS environment.
What does this mean for me?#
If you currently use Melissa’s SSIS 2014 platform, which consists of Microsoft Visual Studio 2013 and Microsoft SQL Server 2014, it is highly recommended that you upgrade to a newer supported SSIS platform (SSIS 2016 or later).
If you are already using SSIS 2016 or newer, then you are up to date and no action is required.
Why are you doing this?#
Microsoft ended extended support for SQL Server 2014 on July 9th, 2024. After this date, SQL Server 2014 no longer receives security updates, non-security updates, bug fixes, or official technical support from Microsoft.
To maintain security, stability, and long-term support for our clients, Melissa has decided to deprecate the SSIS 2014 platform.
Will any other of Melissa’s SSIS supported platforms be deprecated anytime soon?#
Melissa evaluates platform support in alignment with Microsoft’s SQL Server lifecycle policies. Future deprecations will be communicated in advance through official product advisories and documentation updates.
Can I expect the same features and updates from Melissa’s SSIS components when I upgrade to SQL Server 2014+?#
Yes. Melissa’s SSIS components are designed to function consistently across all supported platforms. When you upgrade to a supported SSIS platform, you will continue to receive the latest features, enhancements, and updates.
Deprecated SSIS platforms will no longer receive new features or updates and will remain static.
Which officially supported SSIS platform does Melissa recommend?#
Melissa recommends using SSIS 2019 or newer platforms. These platforms provide the best long-term stability, security, and access to the latest Melissa SSIS component features.
Contact Verify Dedicated Cloud (Appliance Mode) Deprecation#
As part of our ongoing efforts to streamline and modernize our services, Melissa will be deprecating the Dedicated Cloud (Appliance Mode) for the Contact Verify SSIS Component on May 5th, 2025.
Impact#
SSIS Contact Verify Users on Dedicated Cloud:
Users on the Dedicated Cloud mode for Contact Verify in SSIS will no longer be able to use this feature.
Melissa Cloud Users:
If you are already using the Melissa Cloud, this change will not affect your service, and no action is required.
Recommended Action#
We encourage all users currently utilizing the Dedicated Cloud option to migrate to either the Melissa Cloud or on-premise solutions before the deprecation date to avoid any disruption in service.
For assistance with migrating or transitioning to the Melissa Cloud or on-premise solutions, please contact your account representative.
Frequently Asked Questions#
Why is Melissa deprecating the Dedicated Cloud (Appliance Mode)?
This deprecation is part of our effort to modernize our services and deliver a more efficient, streamlined experience for users. Continuing to support the Dedicated Cloud mode is no longer feasible due to evolving technology trends and advancements in cloud-based solutions.
What are my options moving forward?
You can migrate to either the Melissa Cloud or on-premise solutions. Both options will continue to support the Contact Verify functionality within SSIS, ensuring a smooth transition without service interruptions.
How can I migrate my services?
For guidance on migration, please reach out to your Melissa account representative. We are here to assist you throughout the transition process and answer any questions you may have.
GeoCode Logging Advisory#
Reprocess Inputs Update#
SetLatitude |
Use of SetLatitude will prevent records previously coded with GeoCoder Object from being counted towards your overall usage. By setting these properties to the values previously returned from GeoCoder Object, any records whose current values match the values set in the properties will not be counted against your total usage. |
SetLongitude |
Use of SetLongitude will prevent records previously coded with GeoCoder Object from being counted towards your overall usage. By setting these properties to the values previously returned from GeoCoder Object, any records whose current values match the values set in the properties will not be counted against your total usage. |
SSIS 6.4: GeoCode Logging Advisory#
2016 Q4
In order to utilize your on-premise GeoCoder, you must open up a port so you may communicate with our servers
(no private data is transferred through this port – this is purely for tracking purposes).
Please download this file ftp://ftp.melissadata.com/updates/GeoLogTest.zip
and follow the steps providing below to so we may assist you faster in providing a solution to your problem.
This tool is to detect whether or not our servers are able to communicate with you or not.
Ensure you have the following files in your C:\Program Files\Melissa DATA\DQT\Data (or equivalent) folder.
mdGeoCanada.db
mdCbsa.dat
mdCbsa.idx
mdGeo.cty
mdGeo.dat
mdGeo.idx
mdGeo.lic
mdGeo.plc
mdGeoPoint.dat
mdGeoPoint.idx
Unzip the Downloaded file, and move it to your desired location.
Select x86 or x64 bit depending on your system architecture (if unknown, select x86).
Double click “GeoLogTest.exe” and click OK.
Enter your License Key in the License Field.
Enter a directory for the log file to be created (Optional).
If you leave as-is, the log file will be created in the same directory as your GeoLogTest.exe
If you choose to leave it blank, a console window will pop up with your logging information.
Ensure your DataPath is set to the correct location (Where your Data folder is inside your Melissa Folder).
Set your postal code (Optional).
Set the postal codes Plus 4 (Optional).
Click “Lookup”.
Send the trace log to your Melissa Tech Support Representative and we will determine the solution that best fits your needs.