Native App Global Name: Snowflake Quickstart#
Introduction#
Native App Global Name: Snowflake powered by Global Name API can validate and standardize personal names as well as able to standardize company names.
Native App Global Name can be used on Snowflake platform to:
Recognize over 6,000,000 last names and 4,000,000 first names across different countries and languages.
Parse full names into first, middle and last names, as well as prefixes like “Dr.” and suffixes like “Jr.”
Correct misspelled first names.
Standardized names with extended and UTF-8 characters will return responses with the proper UTF-8 / accented characters.
Flag vulgar and obviously fake names, such as “Bugs Bunny.”
Split dual names (ex. Mr and Mrs John and Mary Jones).
Assign gender based on known first names and prefixes.
Output formatted salutations (US and Canada).
Standardize company names.
Requirements#
A Snowflake account that is eligible for the External Access Integration feature.
Getting Started#
Licensing#
Please follow the instruction in Register for a Melissa Account Now to get your License Key with Credits.
You can also contact a sales representative at Snowflakemarketplace@Melissa.com or 800-MELISSA ext. 3 (800-635-4772 ext. 3) for any questions about your subscription.
Native App Installation#
Step-by-step to install Native App Global Name for Snowflake:
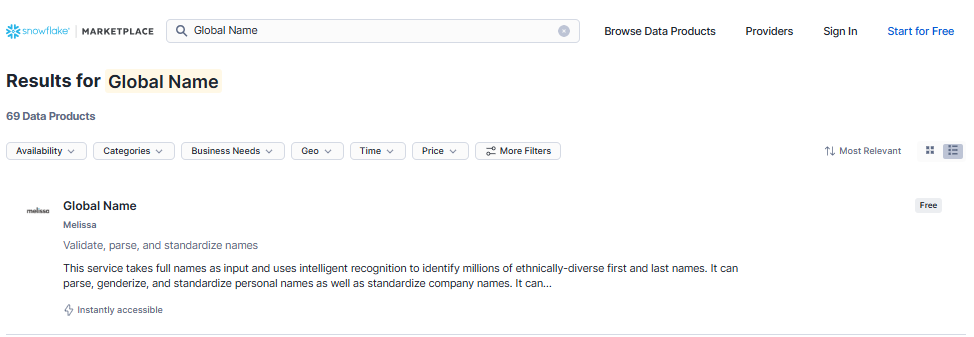
Get the Native App from Snowflake Marketplace#
Login to your Snowflake account.
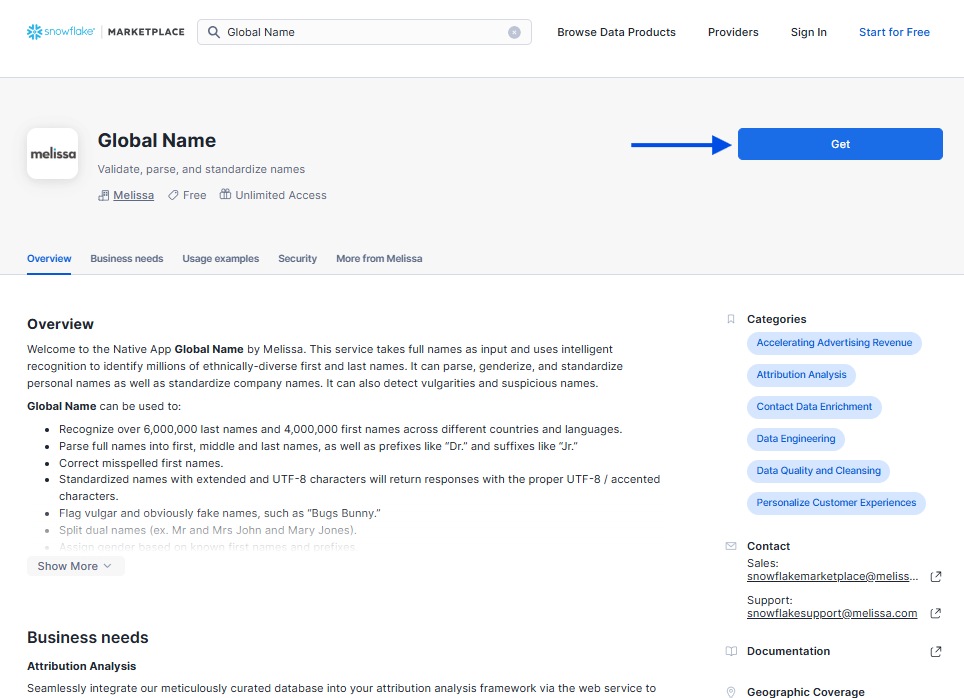
Get the Native App by using this direct link or manually typing “Global Name” in Snowflake Marketplace.
Select Get.
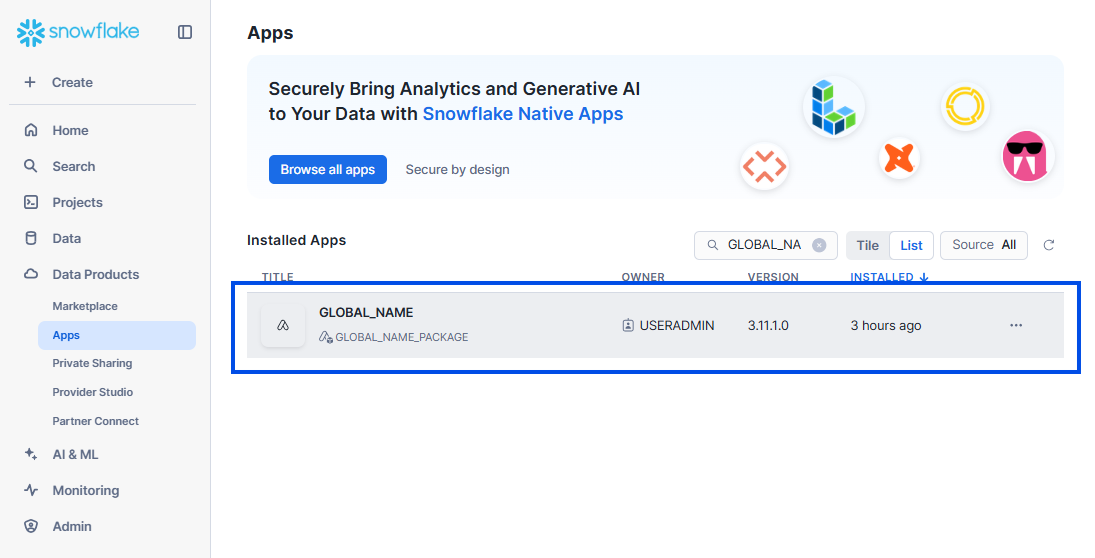
When the app is installed successfully, you can access the app from the left panel of your Snowflake account » Data Products » Apps.
2-Step Configuration#
Melissa Connection Configuration#
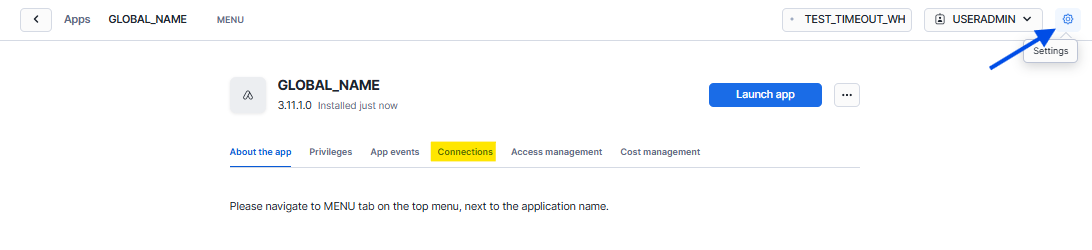
Click open the app.
Select Settings icon in the toolbar.
Select Advanced Options » Where do you want to store the network rule?
Choose the database, schema that your role has the access control privileges. The new connection will be installed here.
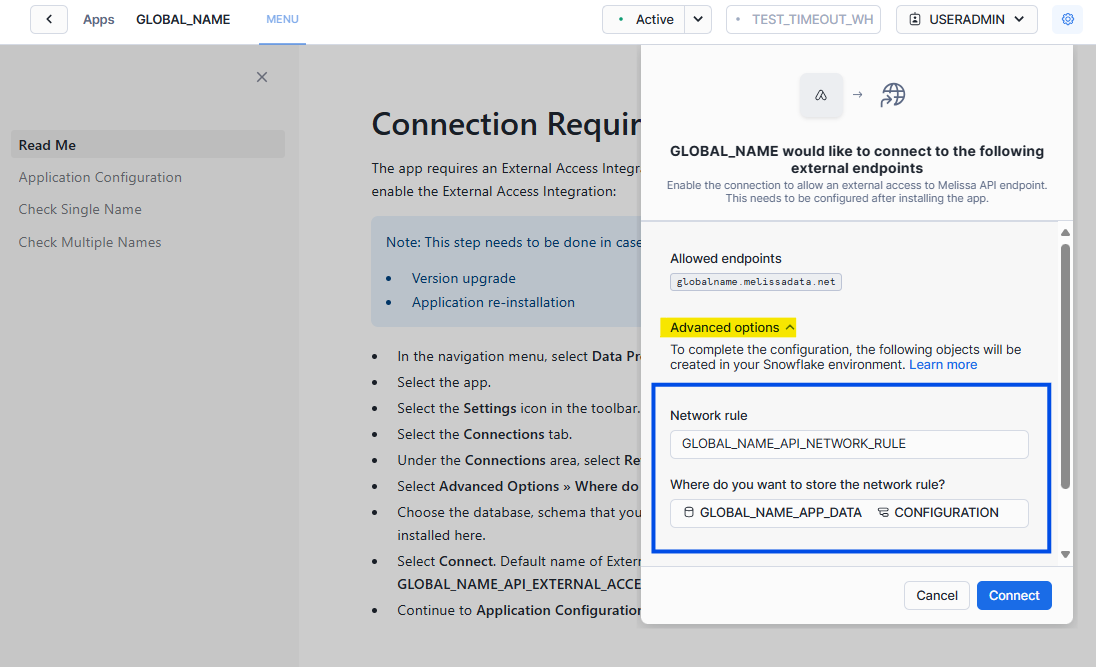
Select Connect.
When the connection is created successfully, “Connection Required!” warning will be replaced by our front page.
Alternatively, follow the instruction on Snowflake interface to connect to our API endpoints.
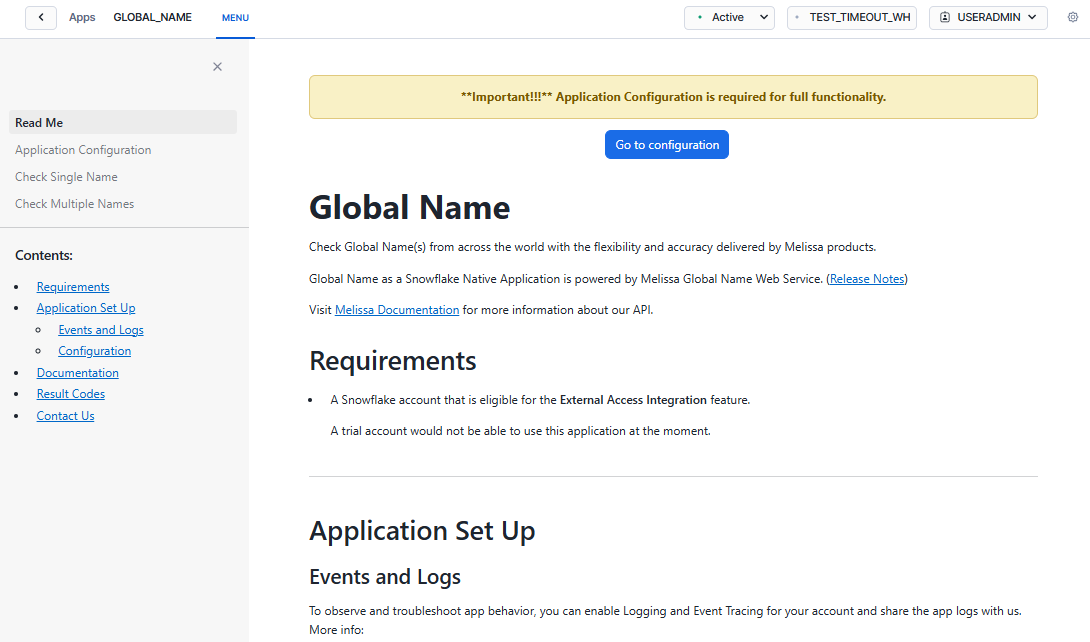
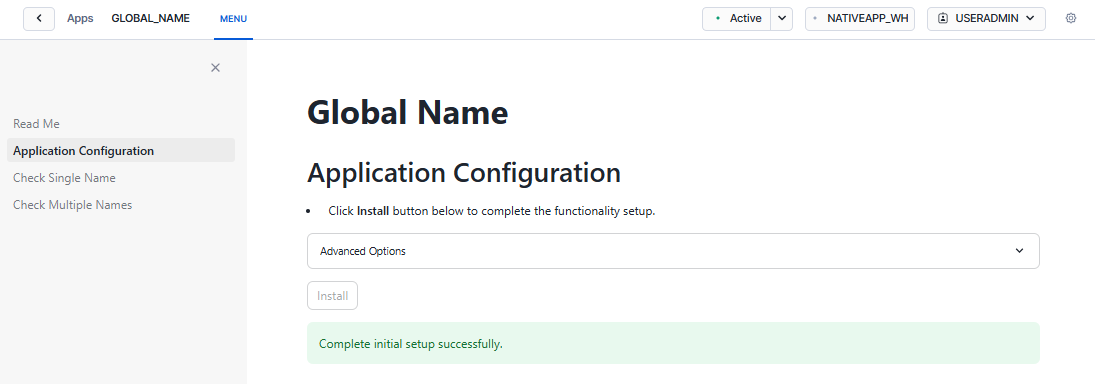
Application Configuration#
Select Application Configuration on the left sidebar of the Menu.
Select Install. All the necessary stored procedures will be installed in the application.
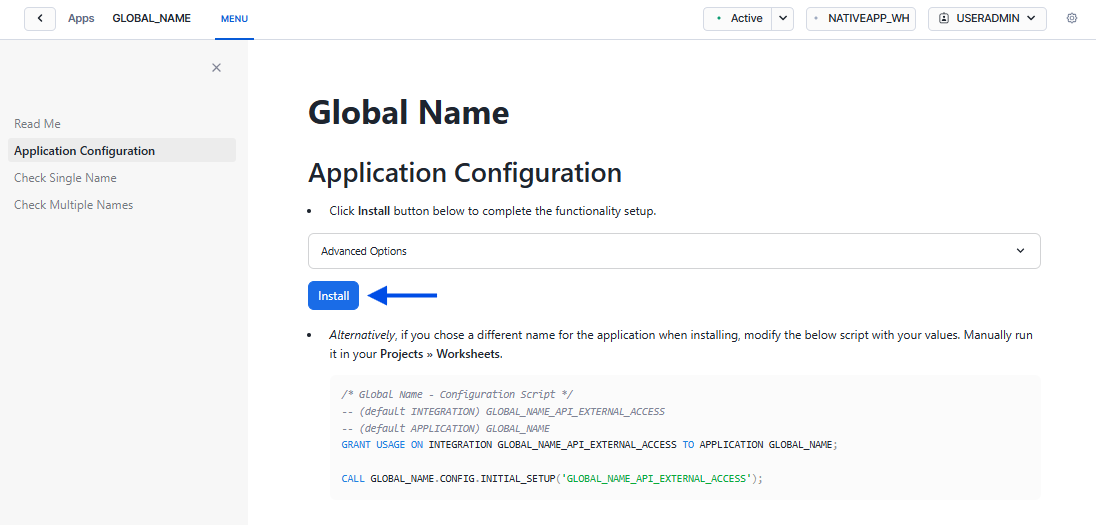
A successful message will be on display “Complete initial setup successfully.”
When the installation is complete, you can explore on the left sidebar for the app’s features we have to offer.
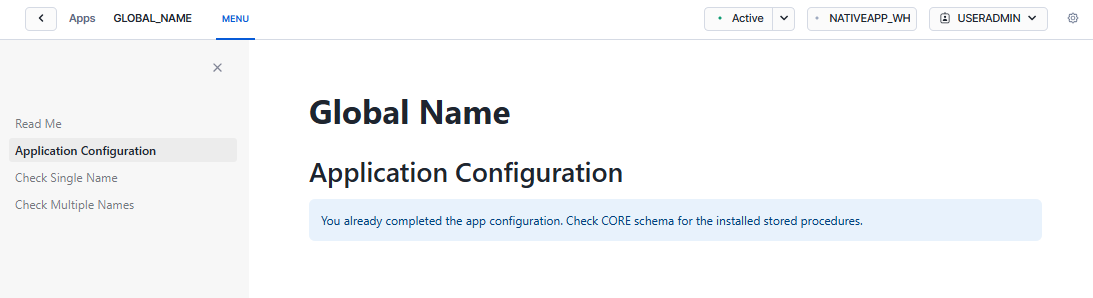
If you have already completed this step, the Application Configuration page will display a corresponding message.
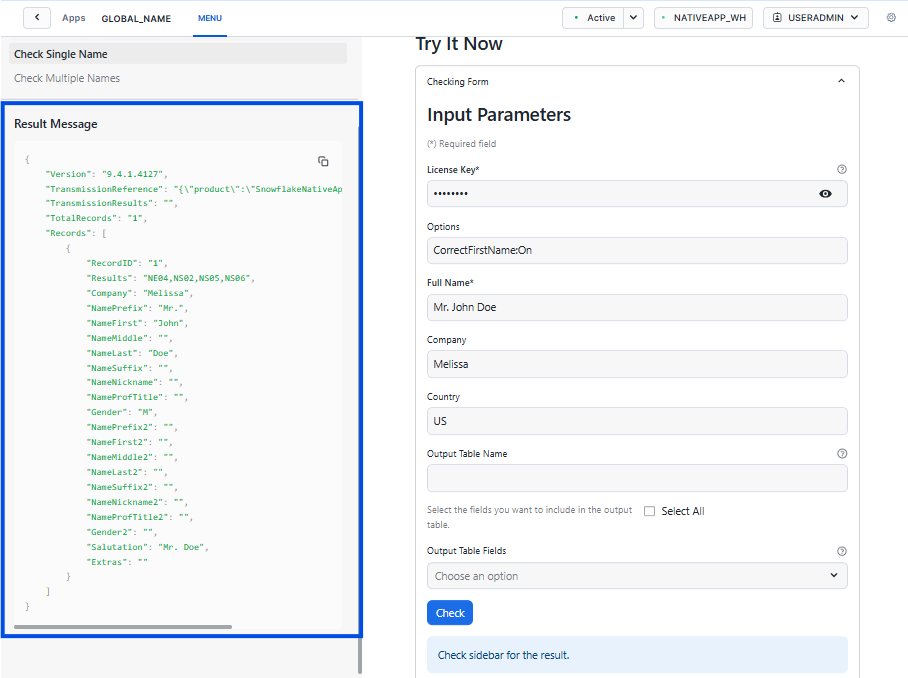
Try It Now#
Checking Form#
In the Native App, select Menu » Check Single Phone » Try It Now » Checking Form.

Enter the license key and name you want to check.
Select Check.
Result will be displayed on the left sidebar.
Output Example#