Pro Server Shared Directory Install#
The MAILERS+4 ProServer Shared Directory Install is meant to save space on machines because it allows the data files to be accessed from a shared directory.
Multiple Setup Executables#
There are 3 different setup.exe files you need to be aware of and distinguish between:
File Name |
Description |
|
|---|---|---|
setup.exe |
This installs the data files to a shared directory. This is the first of two steps. After installing this to a shared directory, you have to install SETUP.exe to the individual workstations from the shared directory you installed setup.exe to. |
|
SETUP.exe |
This installs the program to the individual workstations from the shared directory where you installed setup.exe to. |
|
setup-client.exe |
This is for the individual workstation and performs a full install of both the program and it’s related data files. This automatically installs the data files to the C drive. |
ProServer Shared Directory - Server Installation#
If you purchased the ProServer version of MAILERS+4, you have the option of installing it to a network.
Begin with a server installation (this section guide) to the network drive and finish at each workstation with a small install off the server.
This will allow MAILERS+4 to run smoothly by registering the required dll’s on the client computer.
NOTE: The MAILERS+4 ProServer zip file follows a mp4Svr_YYYYMM format. The file you download will have a different YYYYMM code than the following examples. For the rest of this tutorial we’ll use mp4Svr_202007, meaning a MAILERS+4 ProServer install with data files from July 2020.
Download and Extract Mailers+4 Pro Server#
Download and Extract the mp4Svr_202007.zip folder.
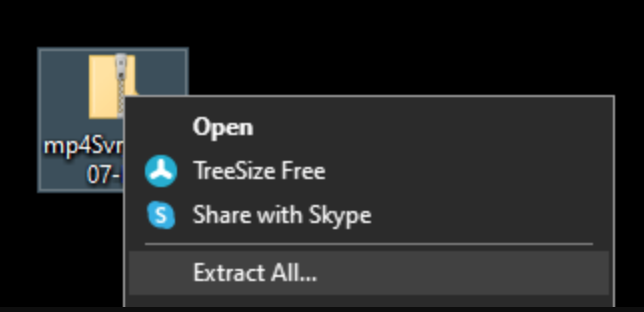
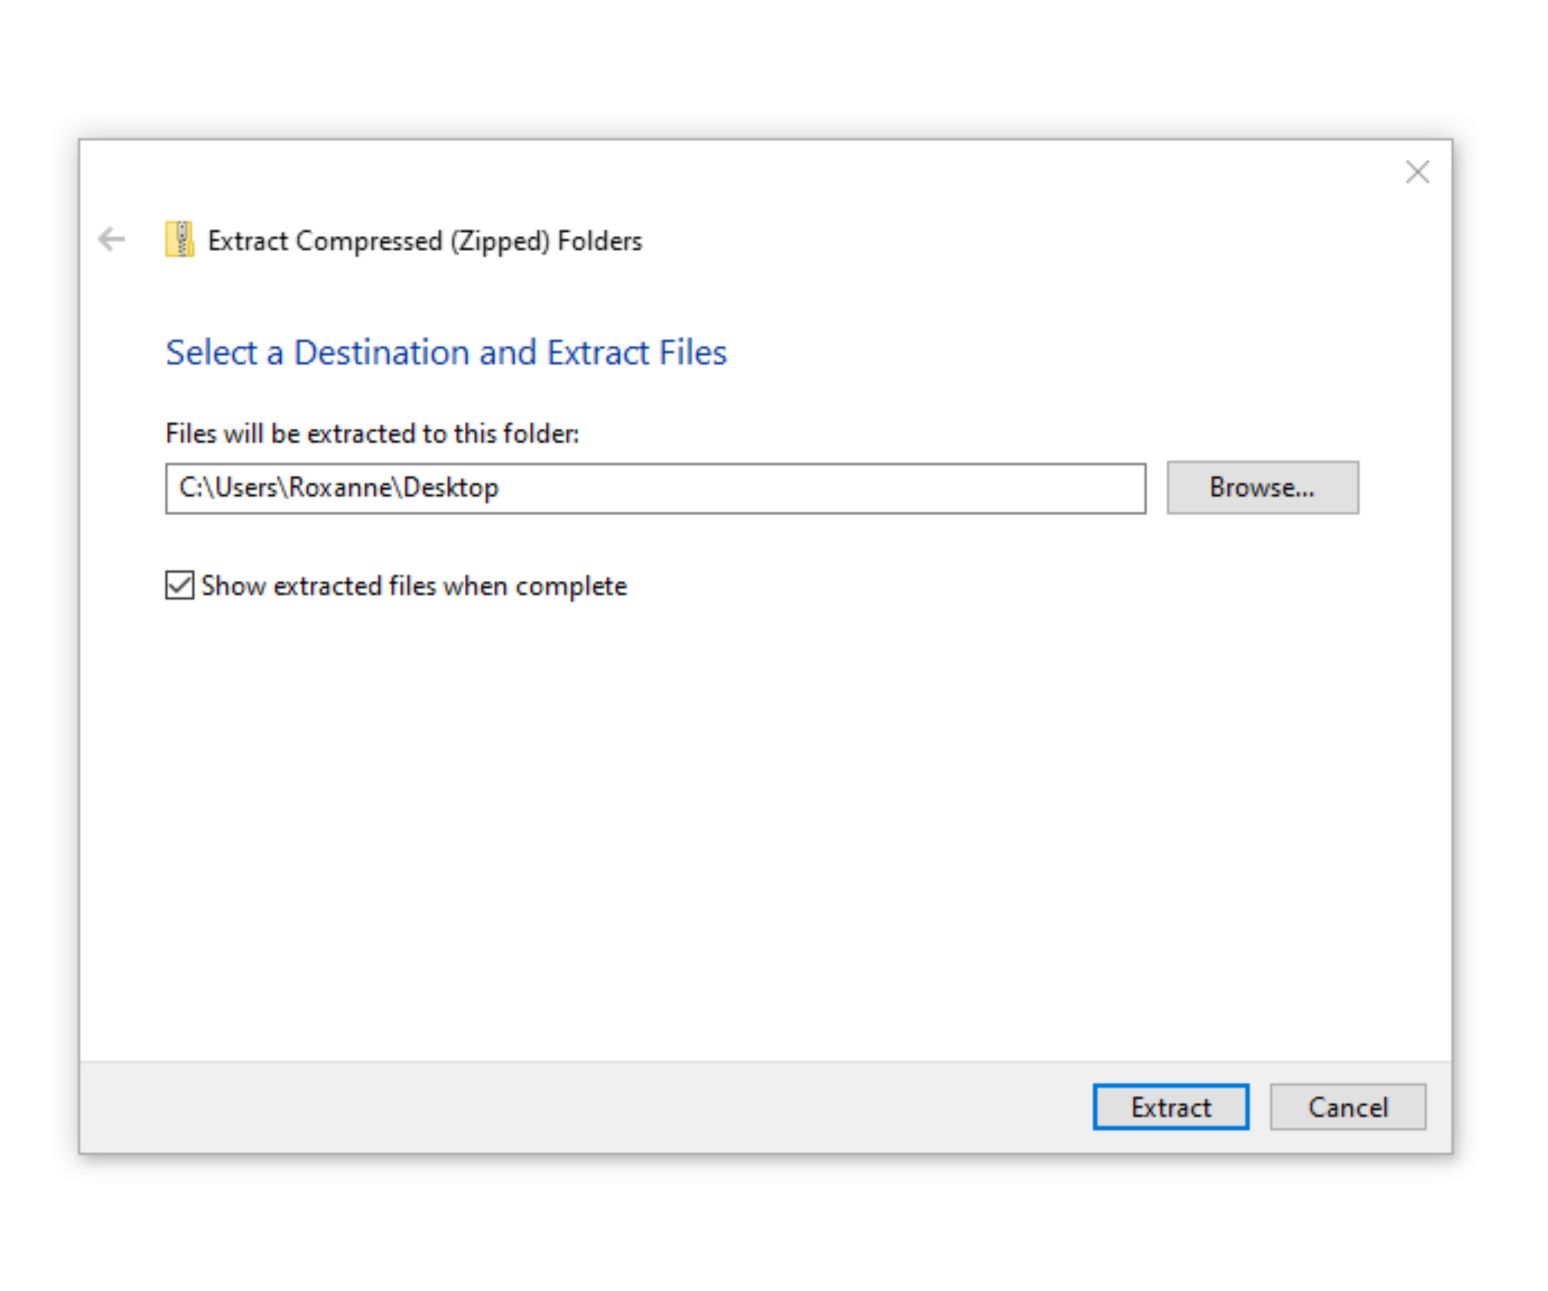
Select Destination#
Select the Destination of the extracted MAILERS+4 file (for example, Desktop) and click “Extract”
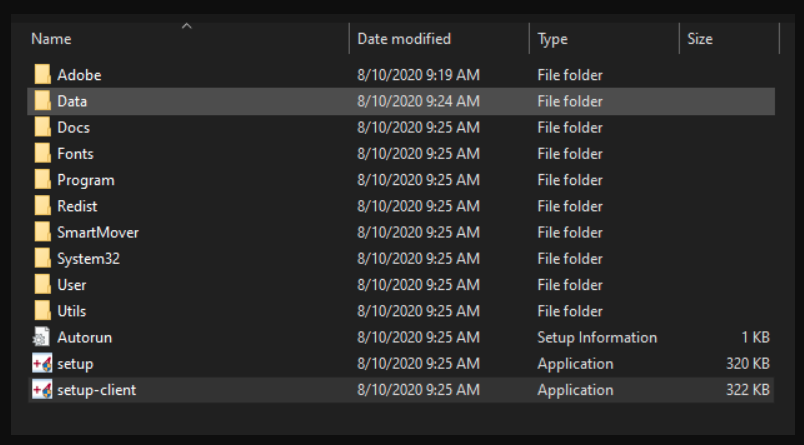
Identify Your Setup Files#
Open the newly extracted mp4Svr_202007 folder. This is where we have to pay attention to the different setup files:
Setup.exe installs onto the computer.
Setup-client.exe is for the individual workstation installs.
Begin with Server installation to Network or Shared Directory#
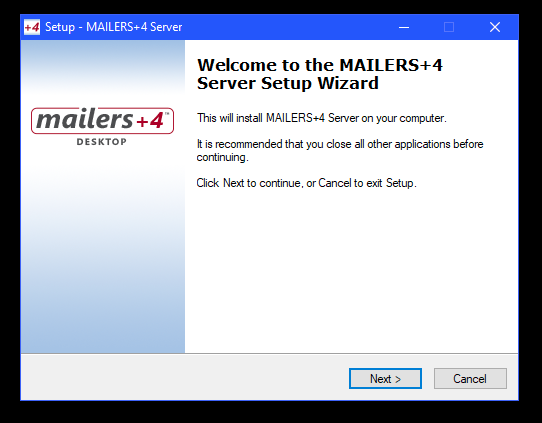
Double-click on setup.exe to open the MAILERS+4 Server Setup

NOTE: There may be a prompt to allow this app (Mailers+4) to make changes to your device. Click Yes.
The Mailers+4 Server Setup screen should appear.
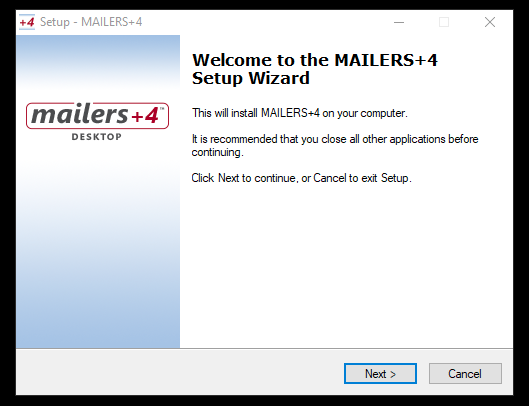
Mailers+4 Pro Server Setup Wizard#
Welcome to the MAILERS+4 Server Setup Wizard! This will install MAILERS+4 Server on your computer. It is recommended that you close all other applications before continuing.
Click “Next >” to continue the Setup (or “Cancel” to exit the setup).
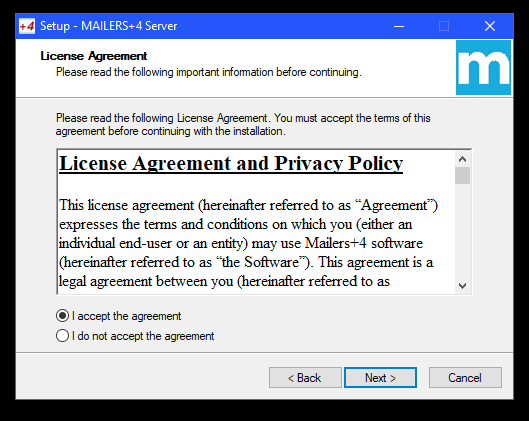
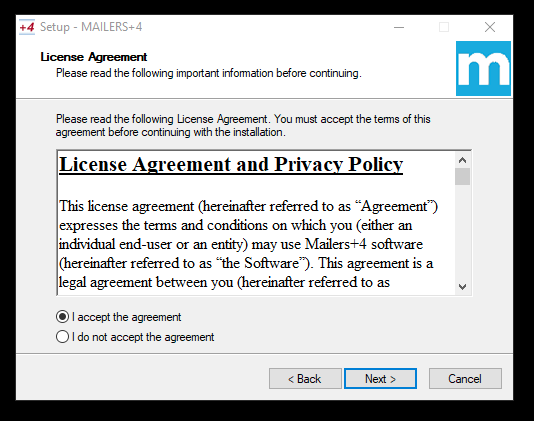
Accept License Agreement#
Please read the Mailers+4 Pro Server License Agreement and Accept the Terms of the Agreement before clicking Next.
Select “I accept the agreement” and click “Next >” to install Mailers+4 Pro Server.
-OR-
Select “I do not accept the agreement” and click “Cancel” to exit the setup.
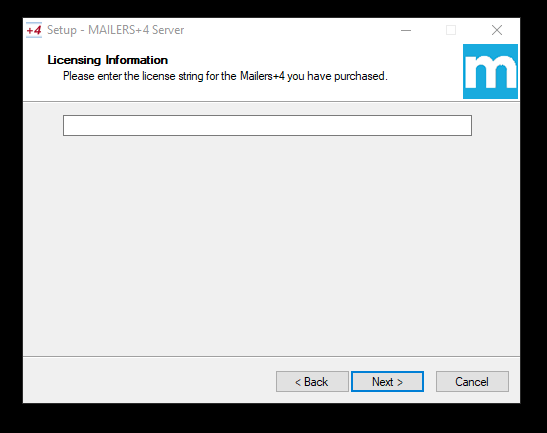
Enter Mailers+4 Pro Server License#
Copy and Paste the license string for MAILERS+4 ProServer provided by your Melissa Sales Representative into the License Information box and then click “Next”.
Select Destination Location#
Select the install location for MAILERS+4 ProServer.
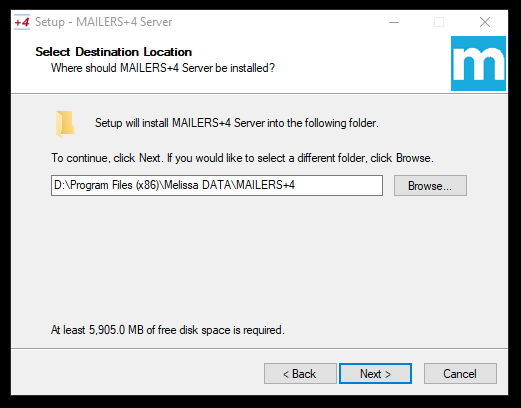
NOTE: a minimum of 6 GB is required to install MAILERS+4 ProServer.
NOTE: Just installing the mp4Svr_202007 updates the build.
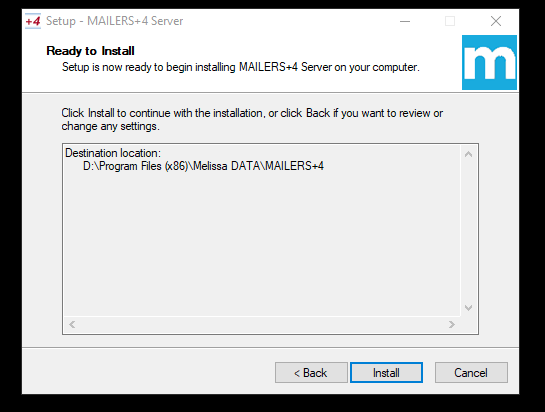
Confirm Install Location#
Confirm the Install location and click “Install” to begin!
Installing…
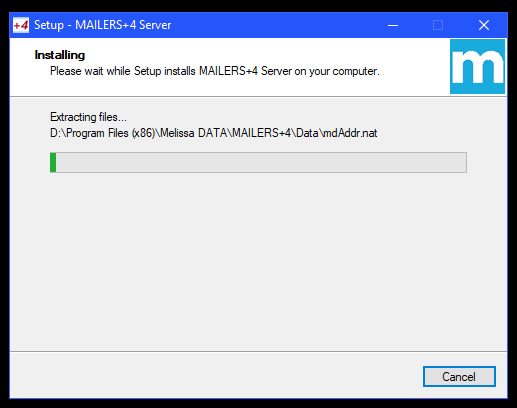
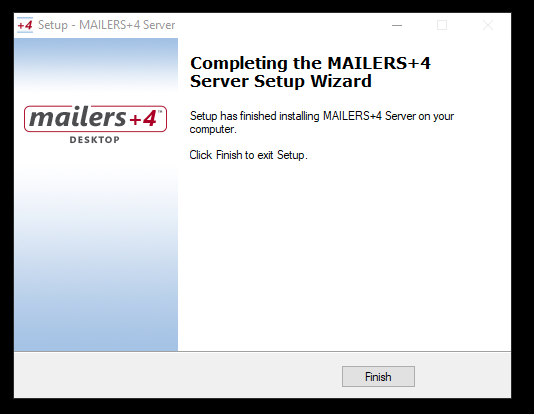
Complete the Install#
Once Mailers+4 ProServer is done installing, click “Finish” to close the Wizard.
ProServer Shared Directory - Workstation Installation#
Once you have completed the shared directory server installation, you need to install MAILERS+4 on the workstations you want to access the shared directory. This is where the SETUP.exe file comes into play.
Go to your Install location#
For example:
D:Program Files (x86)Melissa DATAMAILERS+4
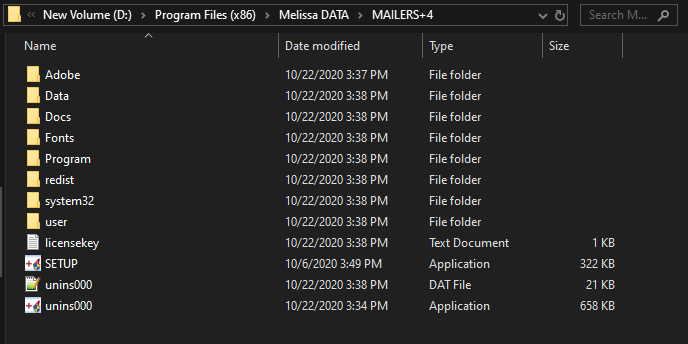
Run the SETUP.EXE Wizard#
Double Click the “SETUP.EXE”
Click “YES” to allow Mailers+4 to run
Accept License Agreement#
Read and Accept the License Agreement.
Select Install Location#
Choose where to install MAILERS+4.

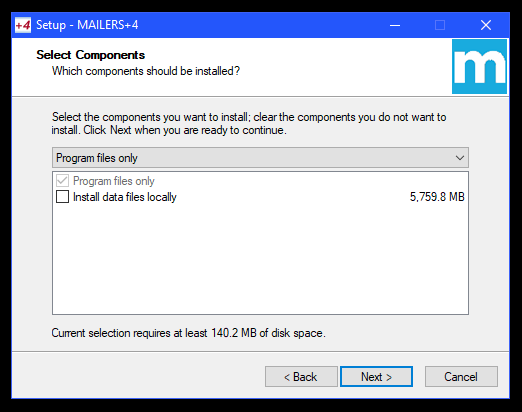
Select Install Files#
Select “Program files only” to only install the program files. You DO NOT want to install the data files locally, that’s the point of our Shared Directory installation earlier.
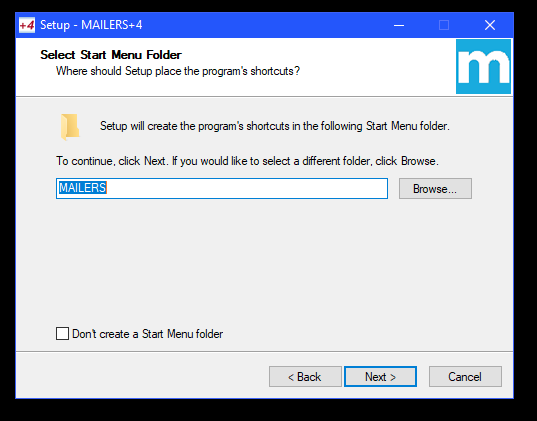
Start Menu Folder#
Select a Start Menu Folder Name.
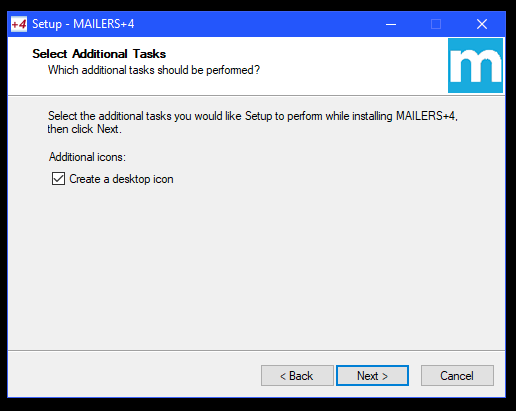
Select Additional Tasks#
Choose to create a Desktop icon or not.
Install#
Once you’ve checked your install locations and settings, click “Install” to install the files to your workstation
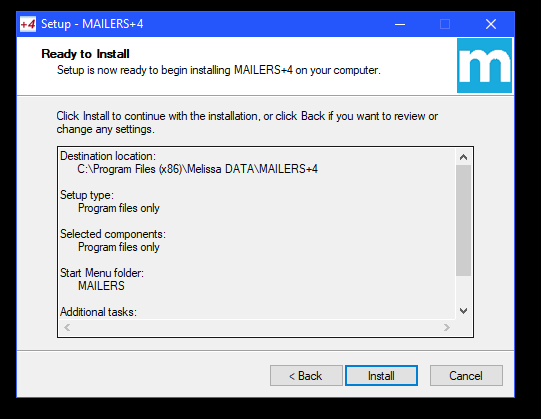
Once this is done, you should be all set to start using MAILERS+4!